The Digital Product Membership Lab
How to Start a Paid Skool Community
A practical guide to moving from a free Skool group to a paid one — without losing your people or your mind.
By Abbey Strodtbeck, The Sweatpants CEO

Skool has made one thing clear: paid groups are getting the spotlight. With Growth Boost sending ad traffic straight to paid communities, the question is no longer should you charge — it’s whether your group is ready, and how to make the switch without starting over from zero.
This guide walks you through how to start a paid Skool community from a free one. If you’re still unsure whether you’re ready, take the Free or Paid quiz first — it’ll show you exactly what to fix before you add a price tag.
In this guide
- Confirm you’re ready to charge
- Get crystal clear on your paid offer
- Pick a price and set up the paid group
- Prepare your free members for the move
- Launch and turn on Growth Boost
1. Confirm you’re ready to charge
Before you flip the switch, make sure you have the three things people actually pay for: a clear result, real demand, and a community with a pulse.
- Clear result: Can you finish the sentence “I help [specific person] get [specific result] within [timeframe]”? If it’s fuzzy, paid members won’t know what they’re buying.
- Real demand: Are people already asking how they can work with you, or have you never actually invited them to pay? Silence is often an invitation problem, not a demand problem.
- Community pulse: A quiet group won’t magically come alive because you add a price. Engagement comes from rhythm: weekly anchors, easy wins, and visible celebration.
If you’re missing one of these, fix it first. The rest of this guide will be much easier once the foundation is solid.
Not sure where you stand?
The Free or Paid quiz scores your offer clarity, demand, and engagement in about two minutes.
Take the Free or Paid Quiz2. Get crystal clear on your paid offer
Paid communities fail when the promise is vague. “Support and good vibes” keeps a group free forever. “Your first 3 paying clients in 30 days” is a credit-card moment. Your paid offer needs a concrete outcome someone can picture achieving.
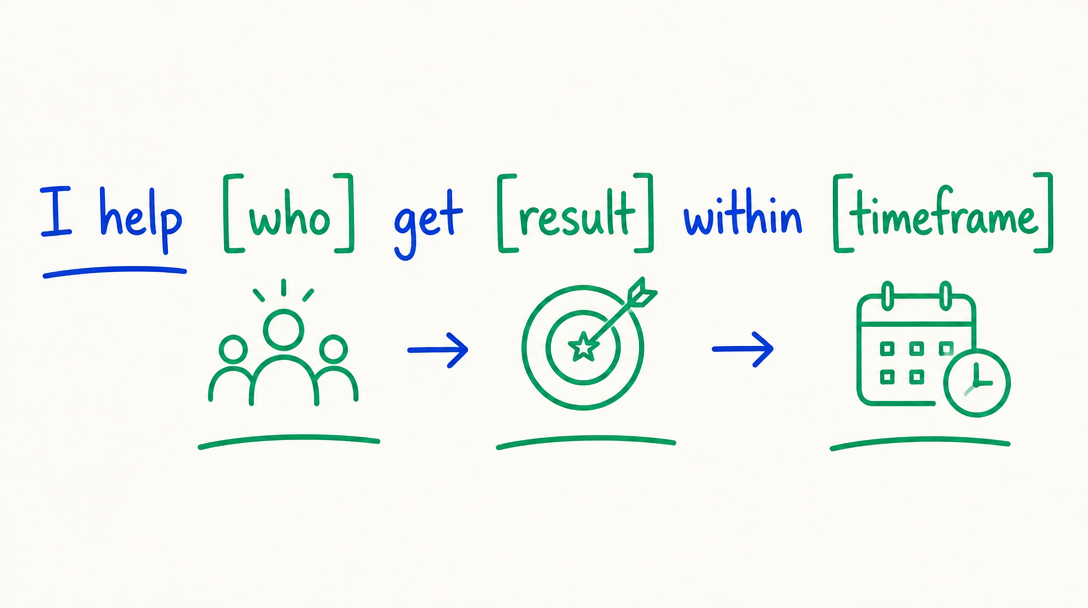
Write your offer sentence until it passes three tests:
- Specific who: Name a person you can picture, not “everyone.” Beginner coaches, first-time course creators, busy mom bakers.
- Countable result: Use numbers or visible outcomes. “3 clients,” “a $5K launch,” “their first 10 members.”
- Real-ish timeframe: Even a loose window (“in their first 60 days”) makes the promise feel believable.
Put that sentence at the top of your About page. With Skool’s Growth Boost sending cold traffic there, this one line is doing the selling for you.
3. Pick a price and set up the paid group
Most people overthink pricing. Your first price is a hypothesis, not a lifetime commitment. Start low enough that saying yes feels easy, but high enough that members take it seriously.

In Skool, the technical setup is simple:
- Go to your group settings and enable paid membership. Connect your payment processor if you haven’t already.
- Choose a founding price. Many successful paid Skool groups start between $29 and $99/month. You can raise it later.
- Set up your paid tiers if you want a simple free option plus a paid option. Keep it simple at first — one paid tier is easier to sell than three.
- Write your paid group description using the offer sentence you nailed down in step 2. Make the transformation obvious.
Want the full blueprint?
Inside The Digital Product Membership Lab, I walk through pricing, setup, and the exact launch sequence so you don’t have to figure it out alone.
Join The Digital Product Membership Lab4. Prepare your free members for the move
The biggest fear around going paid is that everyone will leave. In reality, most people who were only there for free content were never going to buy anyway — and that’s okay. Your job is to make the transition feel like an opportunity, not a punishment.
Announce the change in three parts:
- The why: Tell them the truth — you’re investing more, the community is growing, and you’re adding focused value for the people who want to go deeper.
- The what: Clearly list what stays free, what moves to paid, and what new value the paid tier adds.
- The founding offer: Give existing members a limited-time founding price. This rewards loyalty and creates urgency without feeling manipulative.
Give people time to decide. A one-week notice with a few reminders beats a same-day surprise every time.
5. Launch and turn on Growth Boost
Once the paid group is live, your launch is not a single post. It’s a short sequence: announcement, reminder, final call, then a post-launch celebration of the founding members who joined.

After launch, turn on Skool’s Growth Boost. This is the lever that sends paid ad traffic to your group’s About page — which is why getting your offer sentence right in step 2 matters so much. A clear About page converts cold visitors into paying members while you sleep.
In the first 30 days, focus on two things: delivering the promise and capturing wins. Member testimonials, screenshots, and small victories are the social proof that makes the next wave of members join faster.
Final checklist before you flip the switch
- Your offer sentence is specific, countable, and time-bound.
- You’ve chosen a founding price and connected payments.
- Your paid group description matches the promise.
- You’ve announced the transition to your free group with a founding offer.
- Growth Boost is on and your About page is ready to convert.
Going paid is not about squeezing your existing members. It’s about building a more focused, valuable space for the people who want to pay for the next level. Start with clarity, price with courage, and launch with a plan.
Ready to go paid?
The Digital Product Membership Lab gives you the step-by-step blueprint, live support, and a community of people making the same move.